Showing posts with label recipes. Show all posts

Monday, October 21, 2013

Arugula Pesto


Pesto is a great condiment to have on hand for quick dinners and for adding flavor to all kinds of dishes. While basil pesto is near and dear to my heart, fresh basil can be pricy and difficult to find out of season. When I had a bag of arugula leaves the other week that was on its last leg, I decided to try making pesto, and it worked!

Ingredients:
Arugula, basil, or any other flavorful herb (I had about half a bag left, maybe 2 cups packed tight)
1 clove fresh garlic
2-3 tbsp olive oil
1-2 tbsp toasted pine nuts (or any nuts that aren't too sweet)
pepper and garlic salt, to taste
(optional - 2-3 tbsp parmesan cheese)

Add all ingredients to a blender or food processor and blend until desired smoothness. That's it! I usually add a fair amount of parmesan cheese to my basil pesto, but opted not to with this arugula pesto and didn't miss it. You can use this just like you would any other pesto, but here are a few ways I managed to use it:

1) Use in recipes like Red's pesto chicken here
2) Add a little more olive oil and marinate chicken for grilling
2) Mix a tablespoon with mayo for a flavorful sandwich spread (and then toast it!)
3) Add to pasta sauces and soups for a big burst of flavor
4) Mix with a little more olive oil and a light vinegar for a great salad dressing (especially on caprese salads!)


Monday, October 14, 2013

Quick & Easy toasted pine nut hummus


We've been so busy in my house lately that I've been digging up my easiest possible recipes to get us through the days! One healthy snack I try to keep around is hummus; it's full of protein, low on fat, and can be eaten with whole wheat crackers, veggie slices (healthy and gluten-free!), spread on pizza, or used as a filling in sandwiches and wraps. It's fairly expensive if you buy pre-made hummus from the grocery store, but it's very cheap to make it yourself! All you need is cooked chickpeas (aka garbanzo beans), which cost around $1 in the can (or you can buy them dry and cook them yourself to save even more), and a few pantry staples.

For roasted pine nut hummus, my ingredients are:
1 can chickpeas (I recommend no salt added)
juice of half a lemon
2-3 TBSP olive oil
sesame oil (or tahini, but I always have oil on hand and it's the same flavor)
~1TBSP toasted pine nuts, plus more for garnish
garlic, 2-3 small cloves
optional: salt (we cook low sodium so I don't add any)


If your pine nuts are raw, you can roast them in a dry pan over medium-low heat until they're starting to toast and your house smells amazing. A little goes a long way in flavoring hummus, so I toasted up a good 1/4 cup at once but only used a tablespoon or two in the recipe.


Once your pine nuts are toasted, dump your drained chickpeas, garlic, lemon juice, and oils into your blender or food processor (or right into your serving dish if you're using an immersion blender like me), and blend together until you have smooth, creamy hummus!


Taste it once it's blended fully to see if it needs more of anything..I usually add a few tablespoons of water so it's not too thick and dry, but other brands of chickpeas may be different. If you're adding salt, now would be the time to adjust that, too. Garnish with a little extra olive oil and a few pine nuts on top and you're ready for a healthy snack! This will keep in the fridge for over a week, but ours hardly ever lasts that long.


 We also love roasted red pepper hummus (same process, just add canned roasted red pepper instead of pine nuts!), but the flavors are neutral enough to work with just about anything! Enjoy!

-Yellow

Wednesday, October 9, 2013

Rotisserie-style chicken at home


Rotisserie chickens are one of those perfect multipurpose items you can buy on a busy weeknight; they make a great dinner on their own with simple sides that day, and can be used in all sorts of recipes after. The downside for us is that they are typically pretty high in sodium. While home rotisseries are amazing, they're not necessarily practical to keep around...and if you have a slow cooker and a broiler, you can get a whole roasted chicken that's pretty close to that perfect rotisserie texture!

Start with a whole chicken that will fit in your slow cooker. Rub the chicken down with olive oil and cover in a decently thick coat of your favorite spice mix. I usually end up with a mix of fresh garlic and shallots, paprika, oregano, thyme, garlic powder, onion powder, rosemary, black pepper, and cayenne. Jerk seasoning is also yummy, and even a simple mix of black pepper and lemon zest is really amazing!

I use mason jar rings to "boost" my chicken off the bottom of the crock pot - this prevents it from just stewing in its juices (balled up wads of aluminum foil work, too).  

Cook on low for up to 8 hours or high for up to 4 hours, depending on the size of your chicken. (I usually start this in the morning before I leave for work, and it's ready when we get home.) When your chicken is cooked, carefully remove it from the slow cooker (in large pieces, if you have to. They get fall-apart tender!) and transfer it to a baking dish or sheet tray under your broiler. Broil the top of the chicken for 5-10 minutes to crisp the skin. 


This makes a great dinner with a simple salad, and doing this at home lets you take it one step further. After dinner, separate the rest of the chicken from the carcass and store it in the fridge or freezer. Take the mason rings or foil balls out of the bottom of your slow cooker (there should be a bit of liquid and fat from the chicken still in there) and put all the bones, pieces of skin, and any little bits leftover back in the slow cooker. If you have any vegetable trimmings or fresh herbs, add them too! Fill the slow cooker with water and turn it back on low. Let this cook overnight, and in the morning strain the liquid out into ziplock bags or containers. 

This home-made chicken stock is great for soups, sauces, gravy, and cooking all sorts of other things! It's a great way to add a little more flavor and nutrition to rice, beans, and anything else you typically cook in plain water. I freeze mine flat in ziplock bags on baking sheets and file them upright in my freezer.

That's it! Dinner, leftovers, and home-made stock are all made from about 20 minutes of work total.

Sunday, October 6, 2013

Tomato Lunch


We had a really good tomato garden this year and as our garden is headed for Fall, my husband and I are trying to use the tomatoes before they all go bad. This next recipe is fast and easy with tons of flavor that will make you want more. 

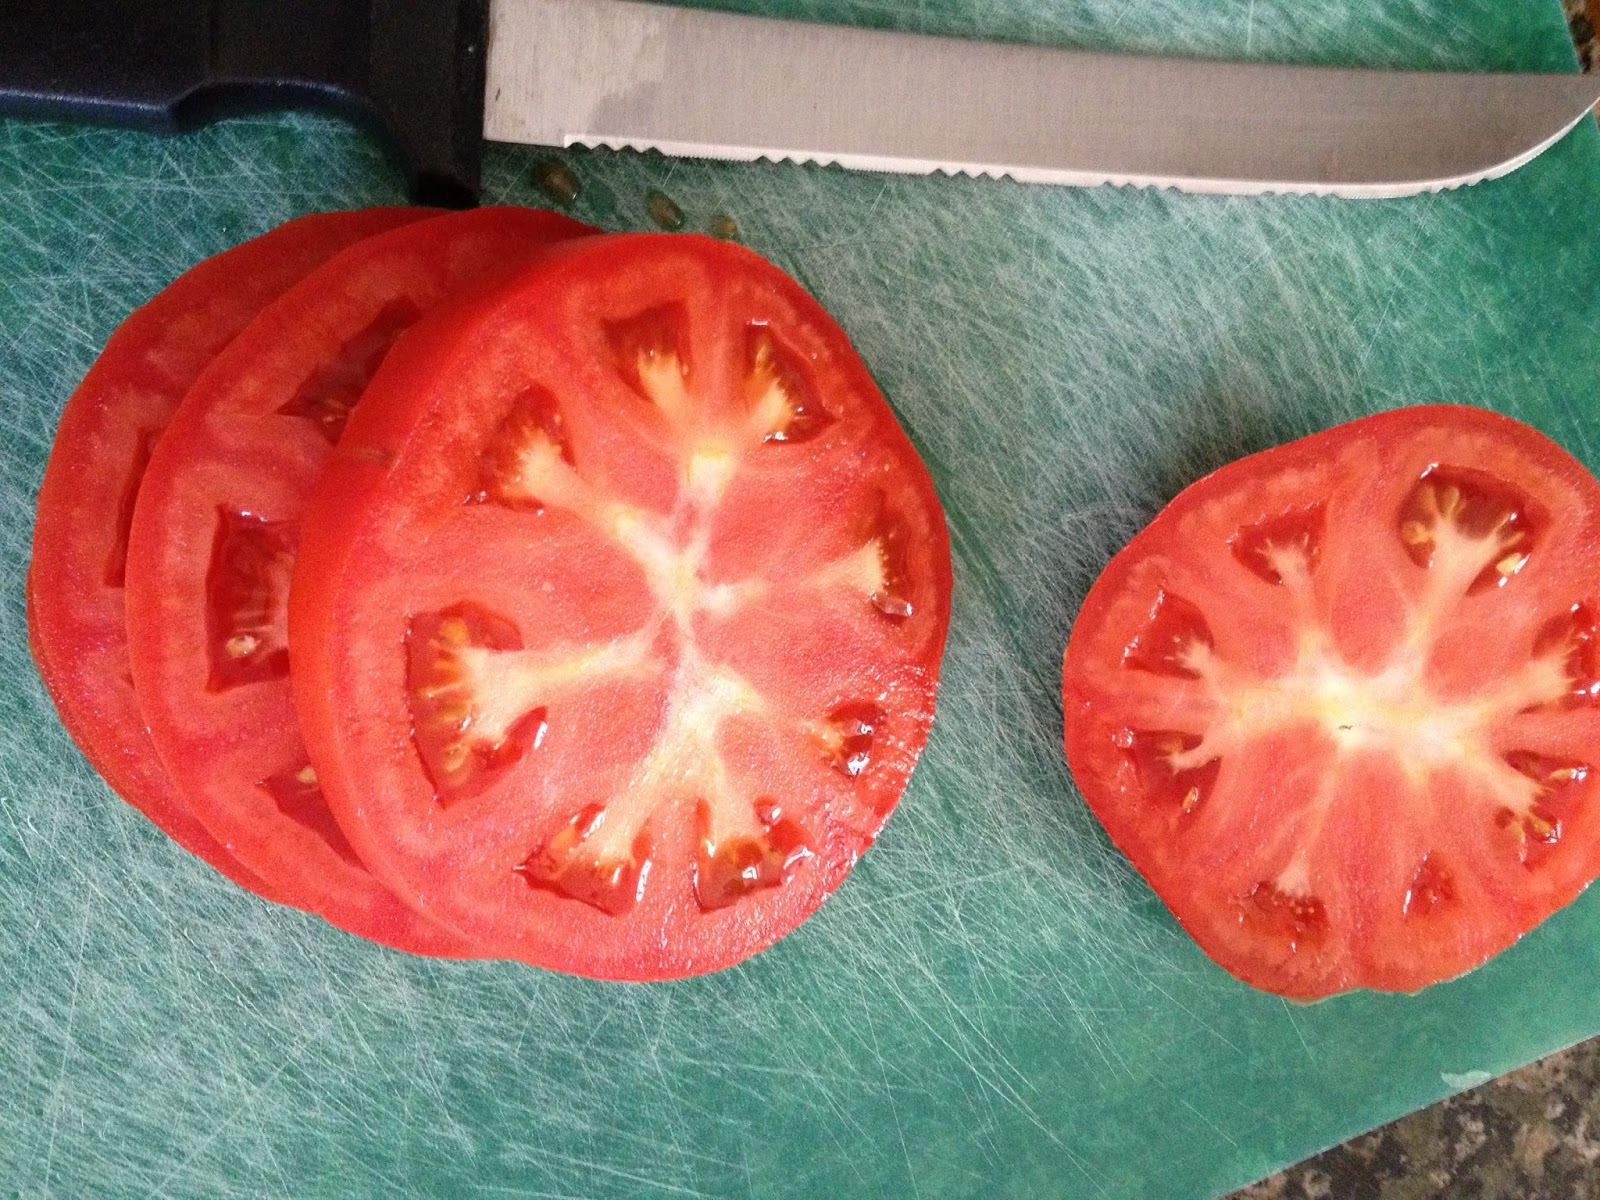
We start with a large tomato, fresh basil, fresh garlic, fresh mozzarella cheese, and sourdough bread. Sounds wonderful already right? Preheat your oven to 425 degrees. You can use a cake pan or a cookie sheet for this recipe, it's really up to you. Slice your tomatoes from the bottom so you get the bold pretty color. Drizzle olive oil on the bottom of your pan, place the tomato slices on the bottom of your pan two or three in a row.


I use fresh basil from our garden and this year we have two kinds: Russian Basil, a purple basil and Sweet Basil, a common cooking basil. I'm using our sweet basil for this recipe but you could really use any basil.


I use fresh mozzarella for this dish and add big slices over each tomato. Cut or chop the basil and spread over the tomatoes and cheese. Cut and chop three cloves of garlic and add those over the tomatoes. Salt and pepper. I use lots of pepper. Place a slice of sourdough bread over your tomato and cheese and again drizzle olive oil over the bread and bake until golden. Plate and eat. I would have loved a plated picture but Dave was out of the room again before I could grab the camera.


The first thing that will come to mind when you taste this is "fresh" all the flavors come together in perfect joy. I hope you try our tomato lunch today. This may not be gluten free but it sure is healthy and good to eat. Enjoy.

Tuesday, September 17, 2013

Canning The Easy Way.


After a friend from college mentioned to me on Facebook that she wished she knew something about canning, I figured it was time to add canning to our blog! I taught my children years ago everything they needed to know about canning so that they could share canning with their children.


Pickling is not the same as canning in that all you need is a water bath. Today's blog will talk about pickling and I'll show you how easy and fun canning can be. Canning pickles is considered a high acid process of canning so a water bath is fine and healthy for canning.


You will need Jars. I use pint sized ones, but this is really up to you. You will need:
Cucumbers and peppers
fresh garlic
fresh dill and
1/8 cup dried dill
(fresh) Black pepper
(whole) mustard seeds
fennel seeds
pickling solution (I use Mrs Wages) You can use your own acid from the store as well.
Vinegar
and water

The first thing I tell everyone when teaching canning of any kind, be it jelly, jams or green beans. Super CLEAN your kitchen. I mean it. CLEAN your kitchen and make sure that everything is wiped down with an antibacterial cleaner. While you are cleaning you kitchen and clearing space for canning, put your jars in the dishwasher. Yes, take them out of the box and put them through a fast wash in your dishwasher. I put my lids in a pan so I can boil them on the stove.

next step is clean your cucumbers and peppers like i did in the picture. Washing all your fruits and veggitables before canning is really important. I use a manoline slicer to cut my cucumbers but you can use a knife. I leave my peppers whole.
Next I need to get the garlic ready. This takes time getting the skins off and then taking the time to thin slice for pickles. I use a whole garlic clove for my peppers.
Then I divide the fresh dill into pieces for there is some for every jar of pickle ( 12 ) jars.
In a bowl I add my dry mix of 1/8 cup pepper corn seeds, mustard seeds, dry dill, fennel seeds and mix it together. I add 1 tsp of this seed mixture to each jar before adding my pickle slices.
I know it looks like a lot but you'll use it all. This is when I pull out one of my little crafting tables to help me in my kitchen with add space. I use baking sheets with paper towels and place my washed jars on the baking sheets so I can work with an assembly line system. Dry mix in jars, shove in sliced cucummbers or peppers, add garlic, fresh dill.
Put a large pot of water to boil on the stove Your water ball will need a huge pot. If you don"t have one, you can always try Goodwill or a second hand store. Add water to your pan of lids so you can start getting those lids clean and hot.
In another large pot add 7 1/3 Cups of water and 3 1/3 Cups of vinegar on high heat. Add Mrs Wages Dill Pickle mix and cook until all is dissolves. Pour pickling mixture into your jars, remove Lid pan from heat and place your lids on your jars.Making sure they are on tight, place your jars into your water bath at a boil for 10 miniutes.
After 10 mins remove and add more jars until done. Let stand on your counter until cool. These will be ready to eat in two weeks.
here are some other pictures of canning Fig Jam, and green beans.


Canning low acid vegetables like green beans requires a pressure cooker. Now, back in the day, my mother canned green beans without a pressure cooker, which is fine still if you cook your green beans completely before you can them. Now days though everyone uses a pressure cooking system which is recommended for health reason. Now that being said, I don't use a pressure cooking system.


I hope this post inspires you to take up canning in your kitchen. My husband loves to give away my canned pickles and peppers as Christmas gifts, which I think is funny. Enjoy.

Thursday, August 15, 2013

Red's Quick Basil Bacon Chicken Pasta

I'm embarrassed to say that Red shared this recipe with me almost a month ago (with pictures!) and I neglected to post it until today. Now I'm craving my favorite basil pesto...so I think this is dinner tonight!
 -Yellow

~

Its really easy, just pasta, basil pesto, chicken and bacon. :) So easy!

Quick Basil Bacon Chicken Pasta
1 pound cubed chicken breast
6 slices precooked bacon
1 box spaghetti or other pasta (use gluten-free pasta for an easy gluten-free dinner!)
1 jar basil pesto

Put water on to boil for the pasta, and brown the chicken in another skillet over medium heat.

Boil Pasta according to the package directions.

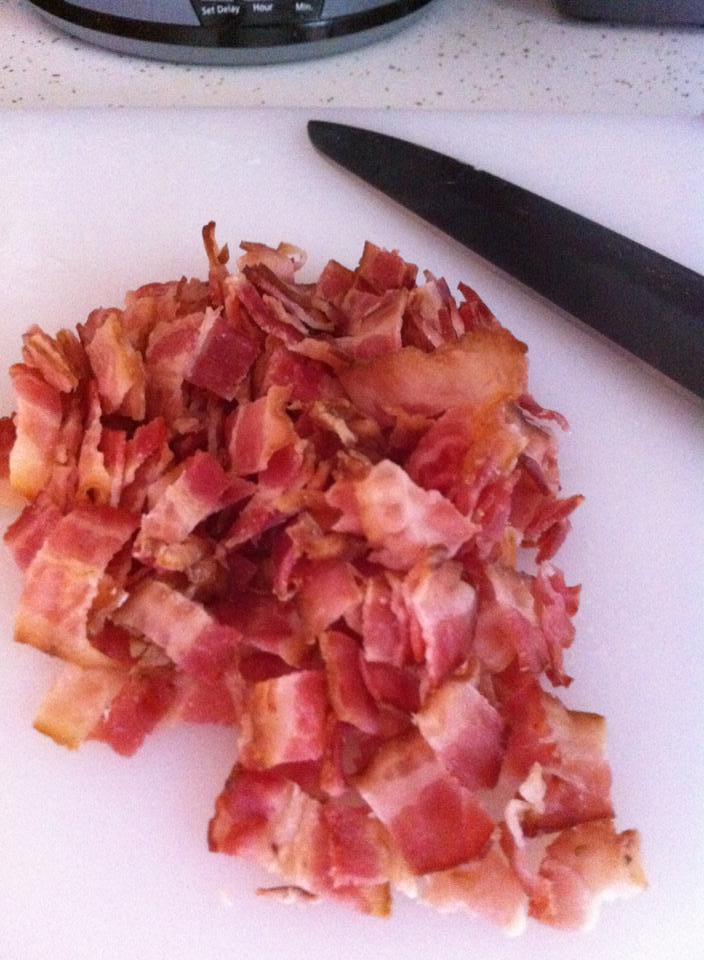
Chop your cooked bacon and add it to the browned chicken

 Add your basil pesto to the cooked chicken and bacon right in the pan. Cook a bit longer to warm everything through!


Drain your pasta, and combine with the sauced up chicken and bacon in a large bowl. Dinner is served!


~

Red is now living in New York with her husband and two small children, so cooking quickly and on a tight budget plays into her recipes. I'm really excited to see what else she can add to the blog!
-Zabrina

Wednesday, August 7, 2013

Zucchini Hush Puppies

My husband and I like to grill fish on our outside grill, and I love to add my gluten free fresh zucchini hush puppies to the meal. This is another fun and easy way to use your garden zucchini and your family will love how it tastes. 

Here is the recipe: 
1 cup yellow corn meal, gluten free 
1 cup Oat flour, gluten free 
1 tsp baking soda 
1/2 tsp baking powder 
2 tsp salt 
1 tsp onion powder 
1 tbsp sugar, you can leave this out if you like 
2 small shallots fine chopped 
1 cup heaping full shredded zucchini 
1 egg 
2/3 cup milk, or more if needed

Mix the dry ingredients (corn meal through sugar) and wet ingredients (shallots through milk) in separate bowls. 


I use a cheese grater to shred my zucchini. Mix dry and wet together and roll into balls.


Using your deep fryer, fry three to four balls at a time until brown. That's it! I hope you enjoy this fun and easy recipe.